Day 7 – Amazing Progress

This is a first.  7 days in and we have all three walls nearly completed!  One wall is finished (nailed and screwed) and the other two are right behind.  What an amazing group of collaborators.  Typically we have to stop at this point because of tensions….nope.  No problems, everyone contributing, progress is being made.


And yes, it was raining the entire day.  Maybe tomorrow someone other than me will have a rain jacket and umbrella?

Day 6 – Working in the Rain

All three walls are officially outside!  For only being 6 days into the entire process, we sure are making some progress.  It was awesome watching the teams (we have 3 teams; one for each wall) navigate the crazy transport of their top plate and one corner stud from the Ideation Studio to outside.


Despite the rain, we made some amazing progress.  Hopefully some of the students will remember to wear pants or even a jacket to school tomorrow.

team effort to take the frame outside

this is the biggest frame at 16 feet long. lots of communication to get it down the hall without hurting anyone or damaging anything

using the speed square has been a challenge, but it is helping us make sure our studs are put at 90 degrees

team effort!

Day 5 – Lessons Learned

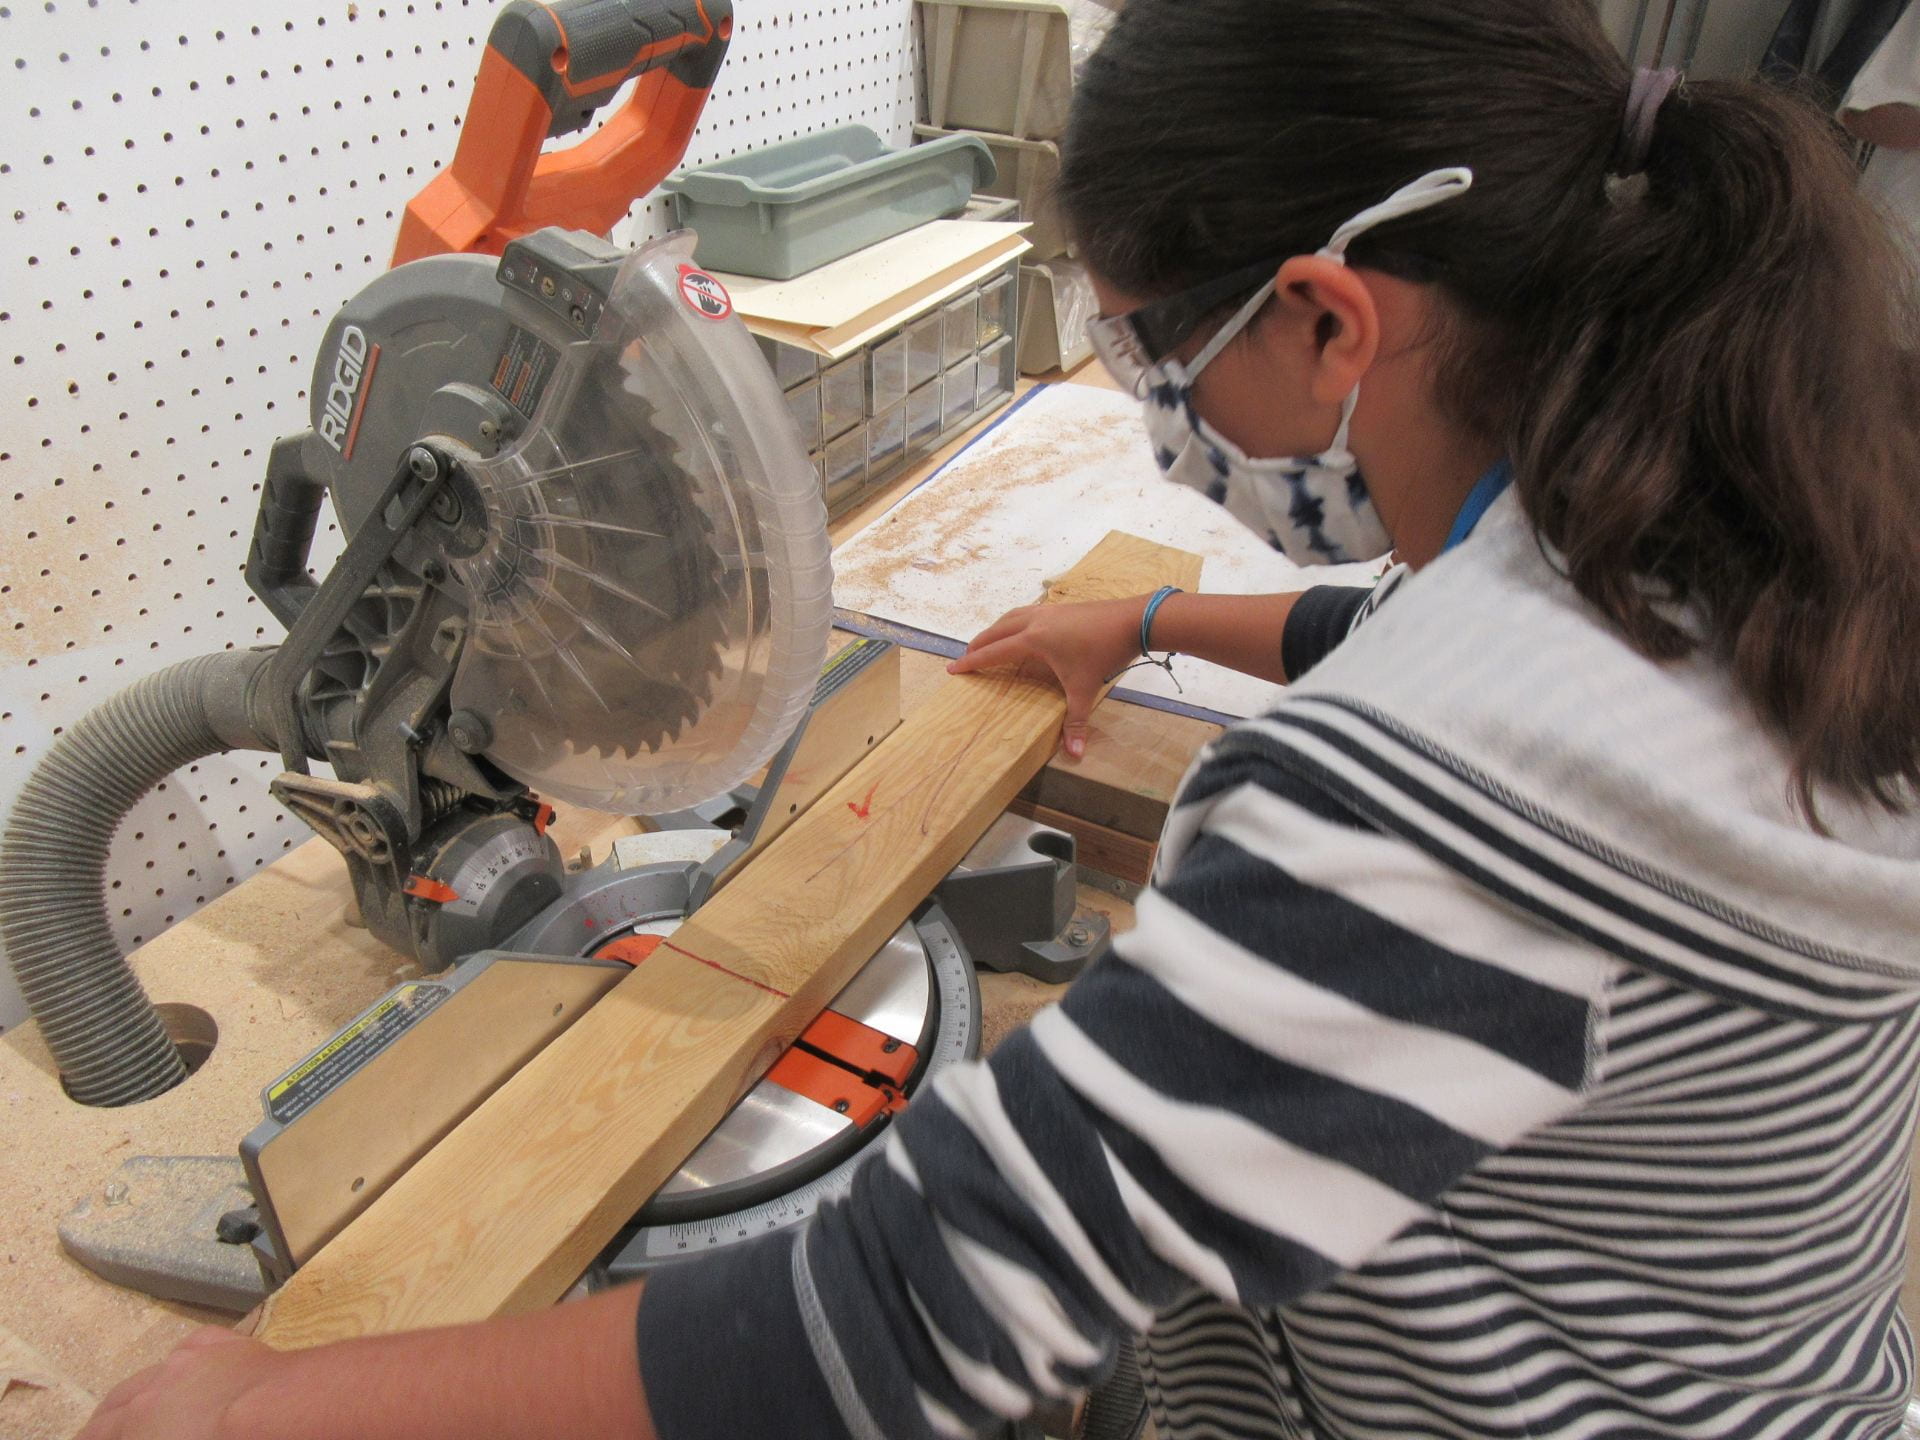
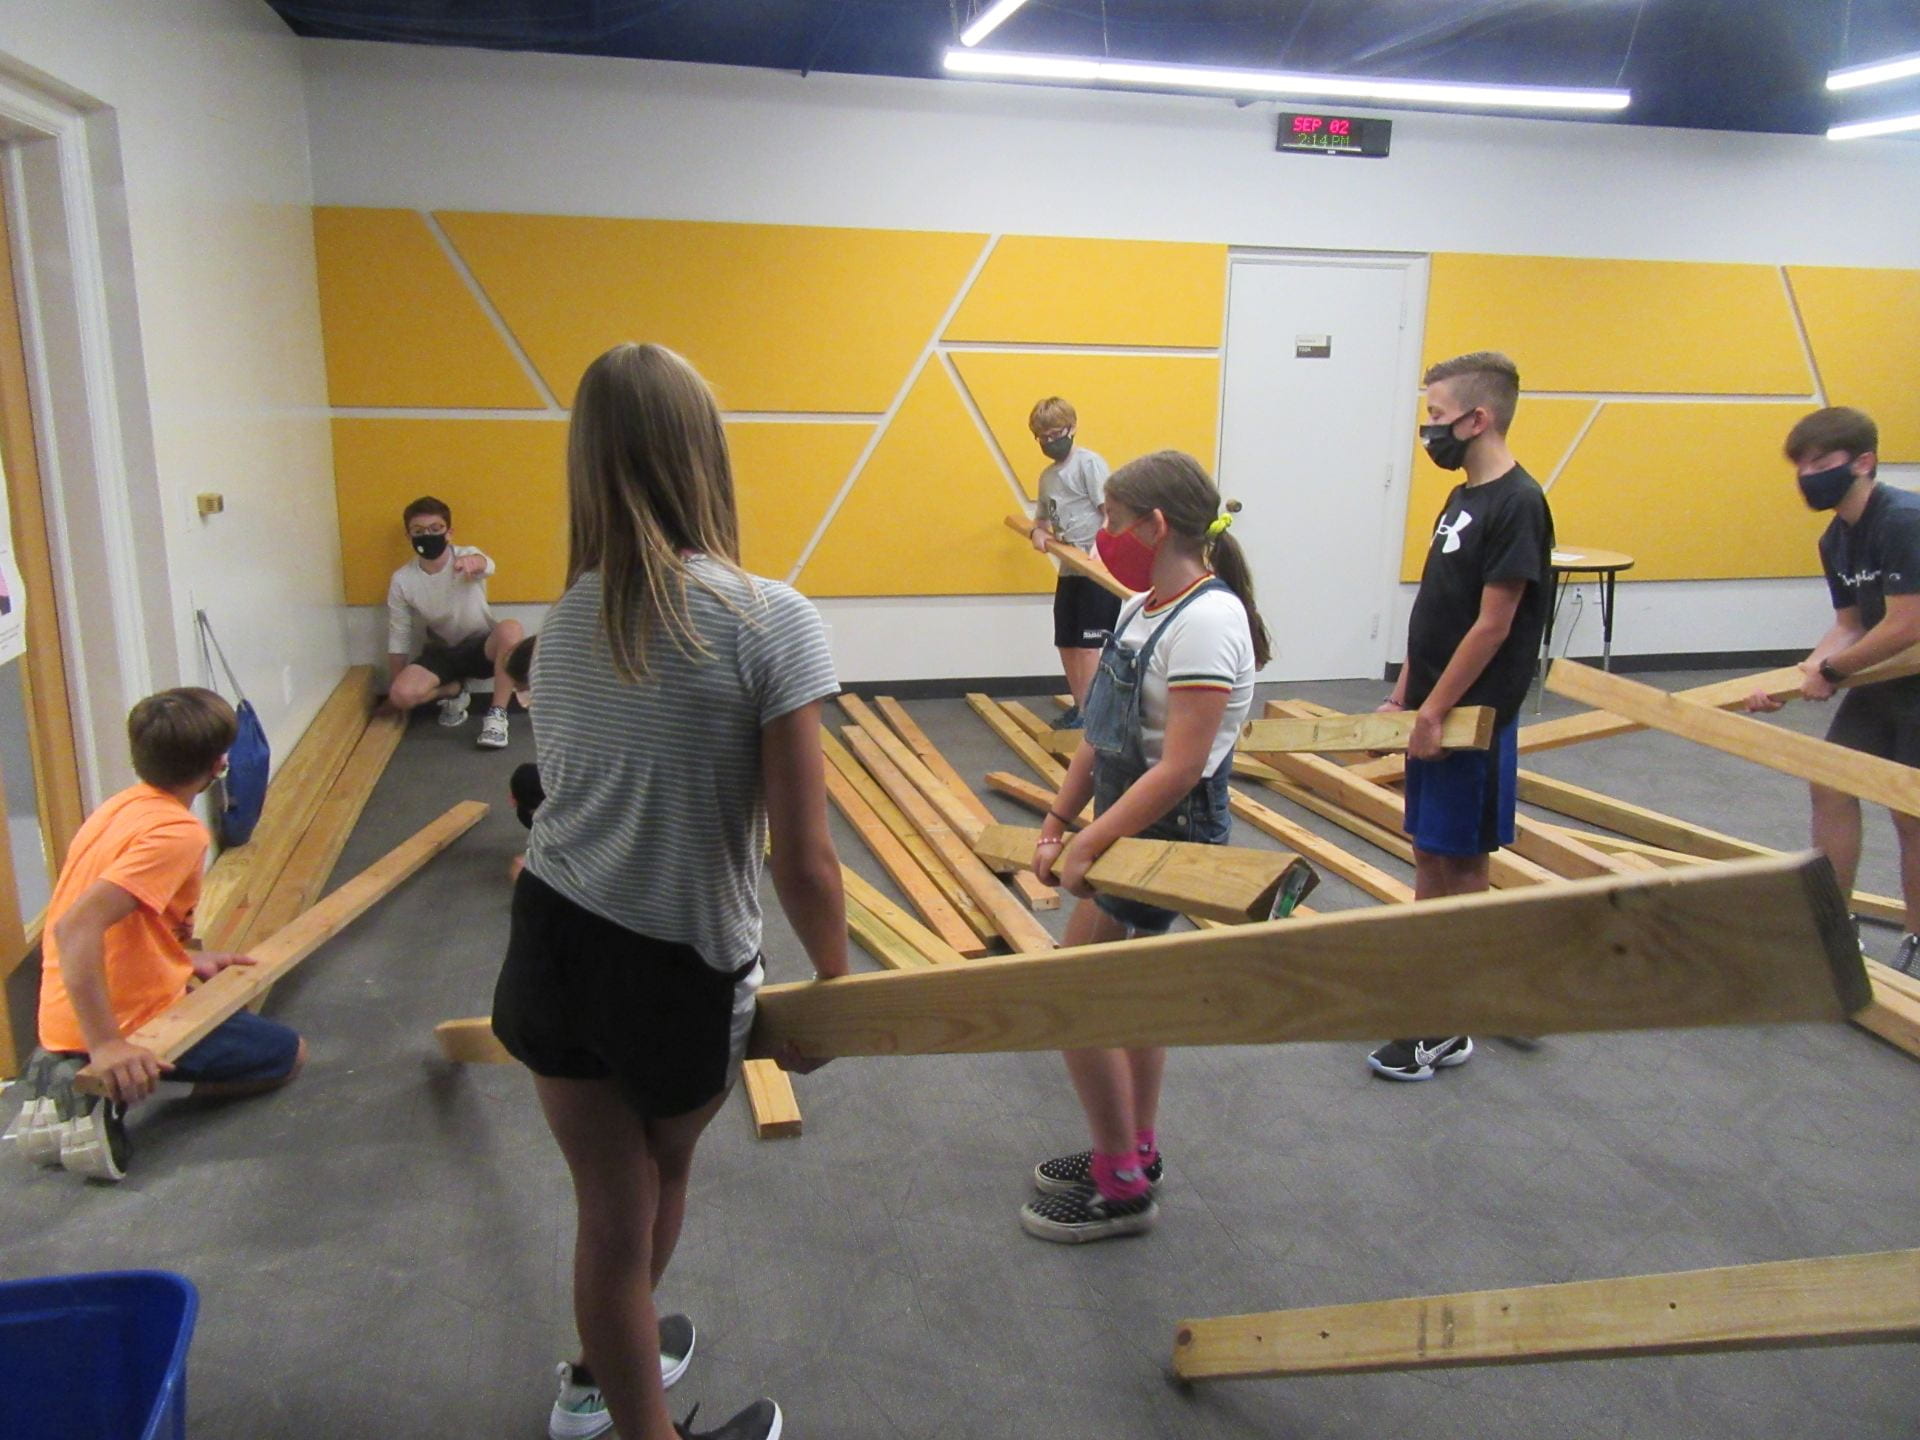
We have all our wood and started with our wall construction today.  We began by creating our bottom and top plates; both of which are double studded (for extra strength).  The students used impact drivers, tape measures, and speed squares to name a few.  It was great to use some of the materials with more confidence than before.  We are getting the hang of it all (not enough apparently in that we stripped a few more screws today).


We learned two major lessons today.  First: measure the doorway before installing the studs of your wall.  We learned that a little too late.  Second: make sure you have someone holding the door for you when you leave to bring your wall outside!


Good to be back!


a group of us learned to have a door holder before going outside

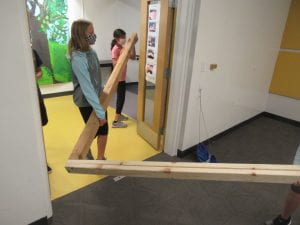
taking a partially pre-assembled wall outside before it was too late

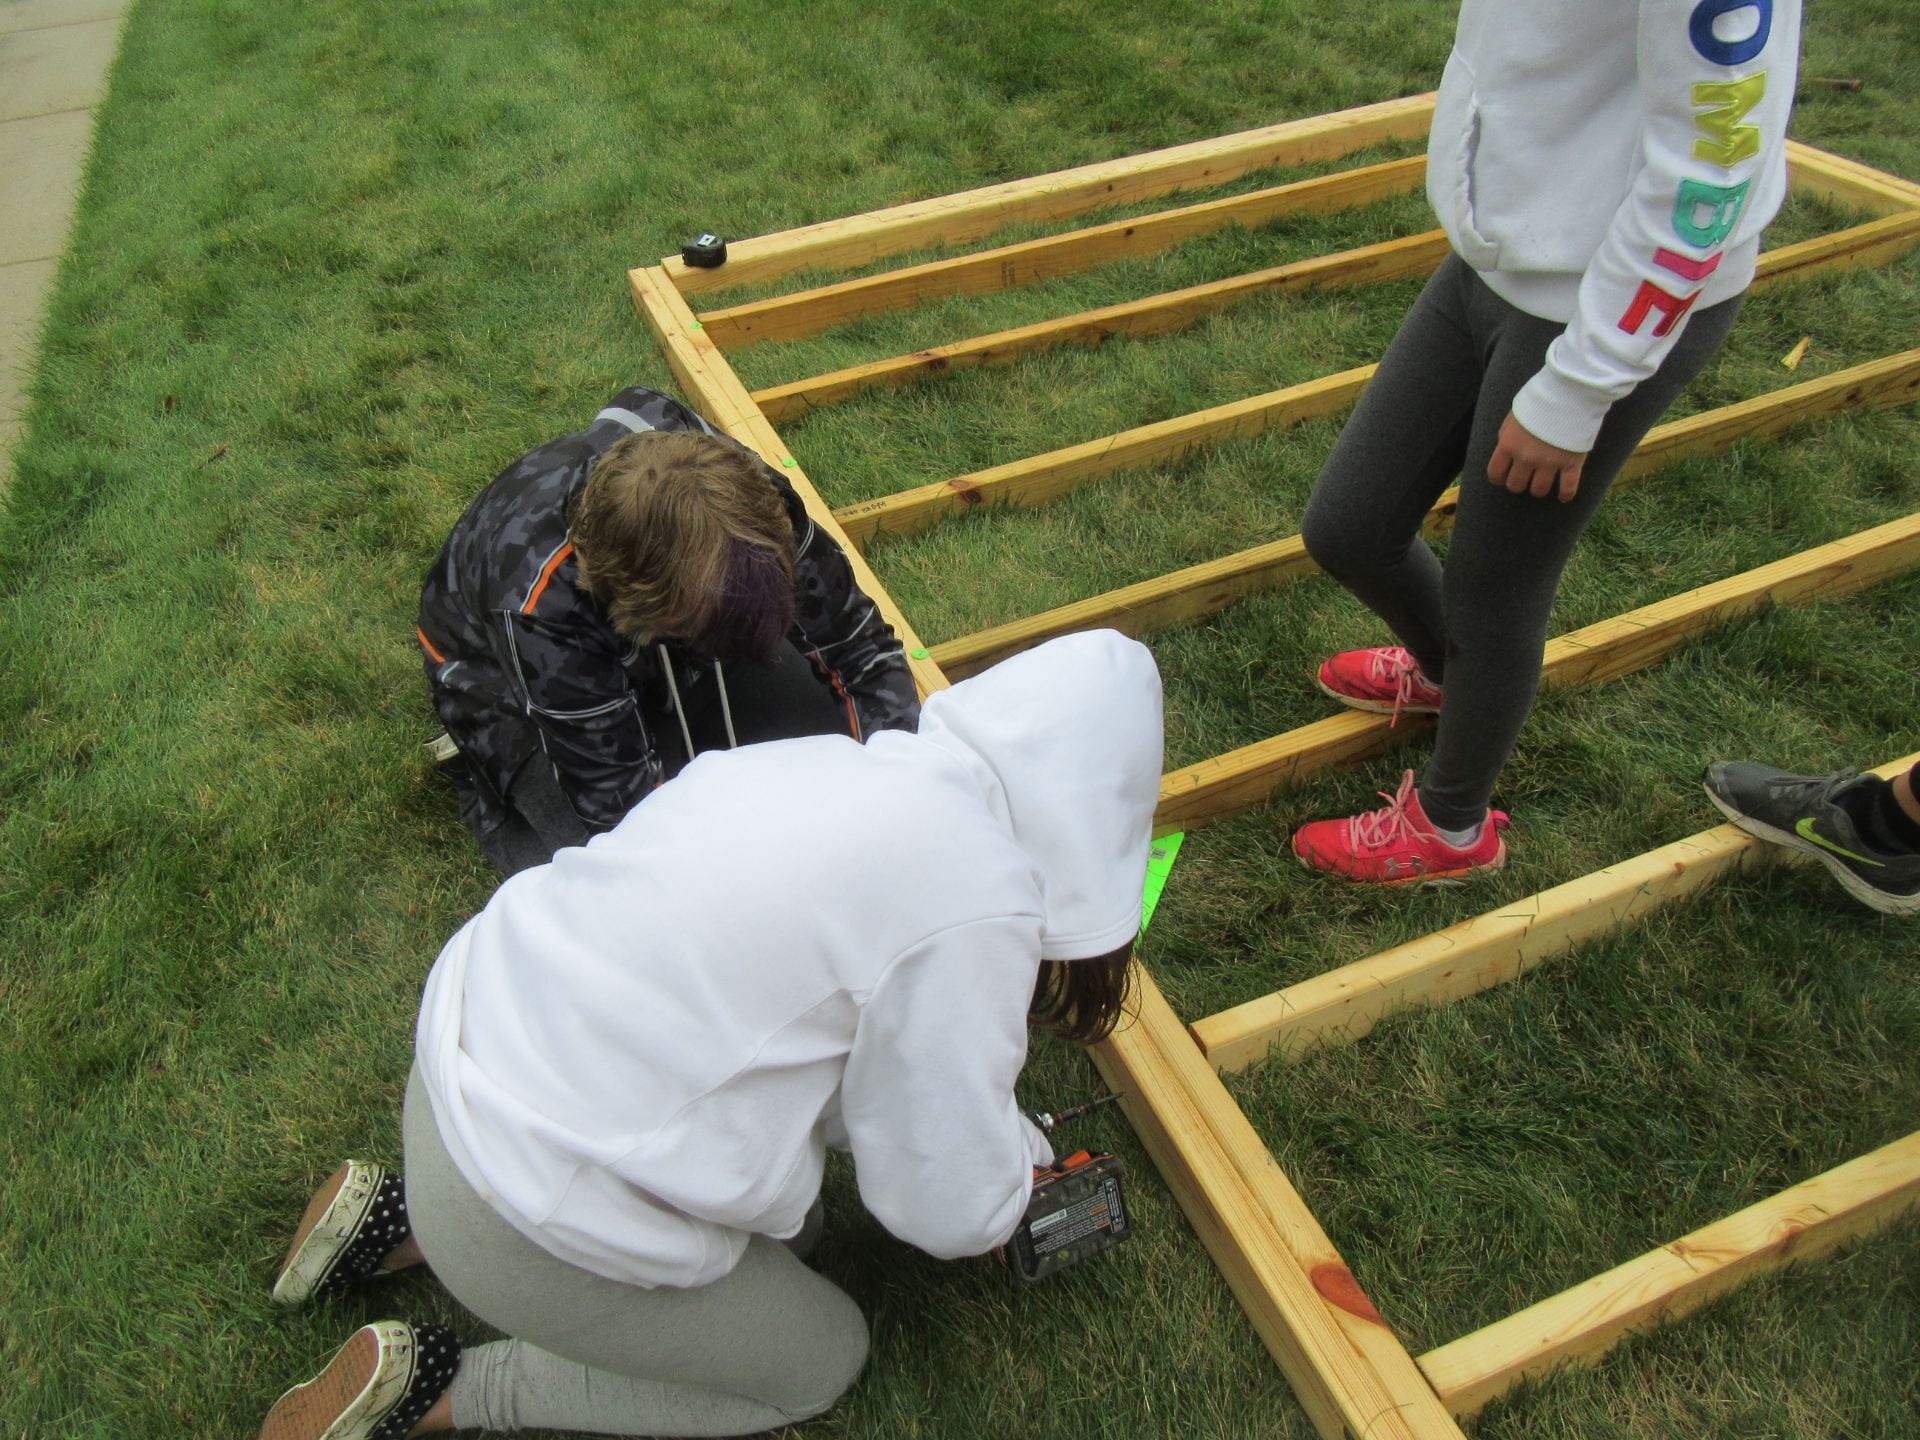
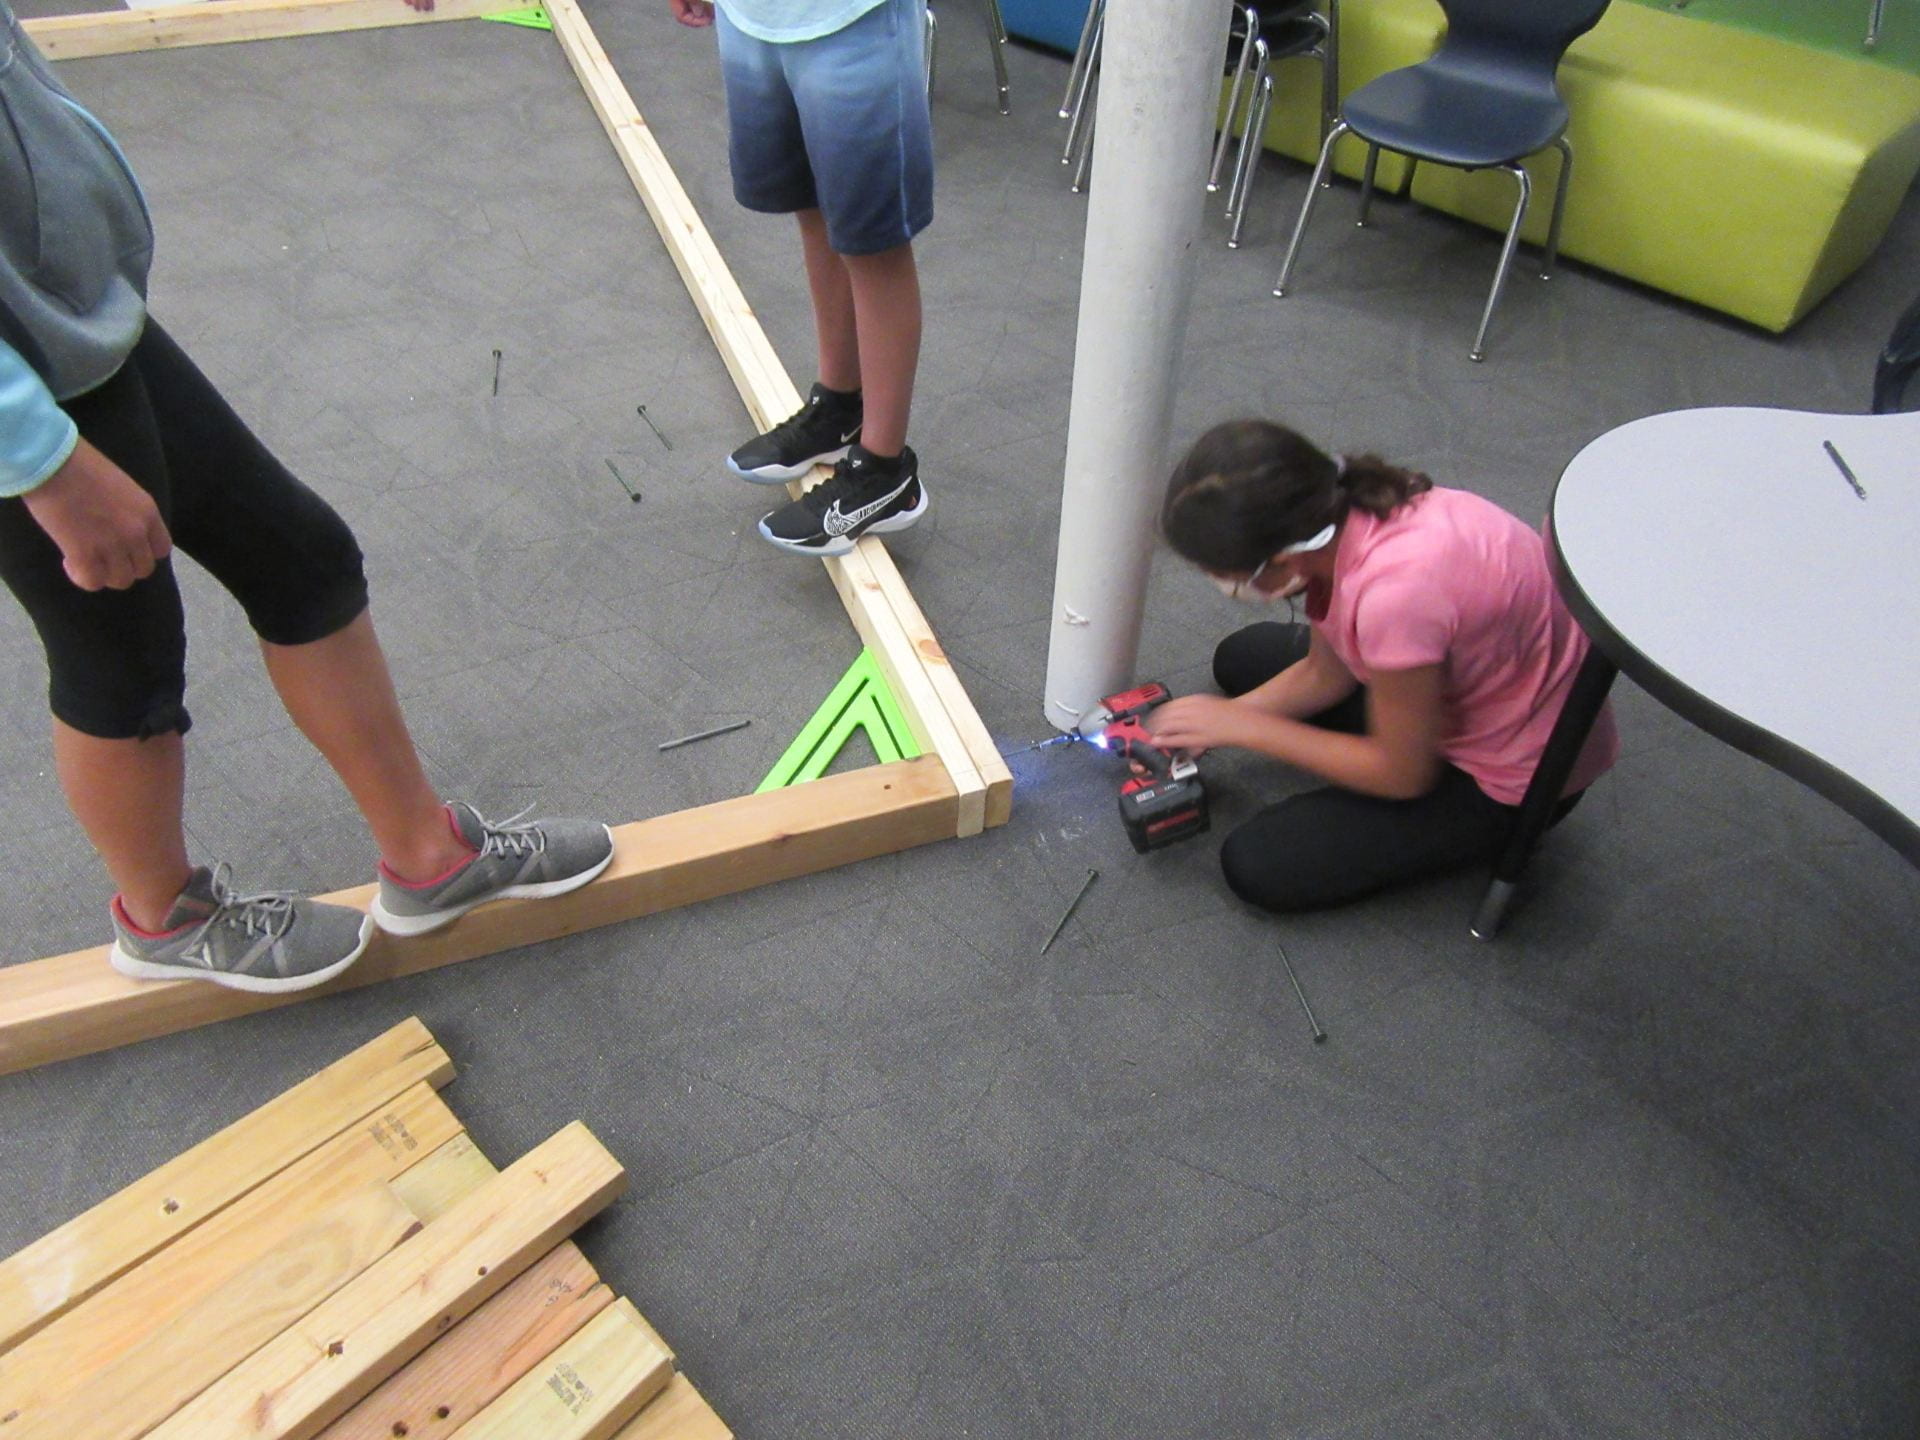
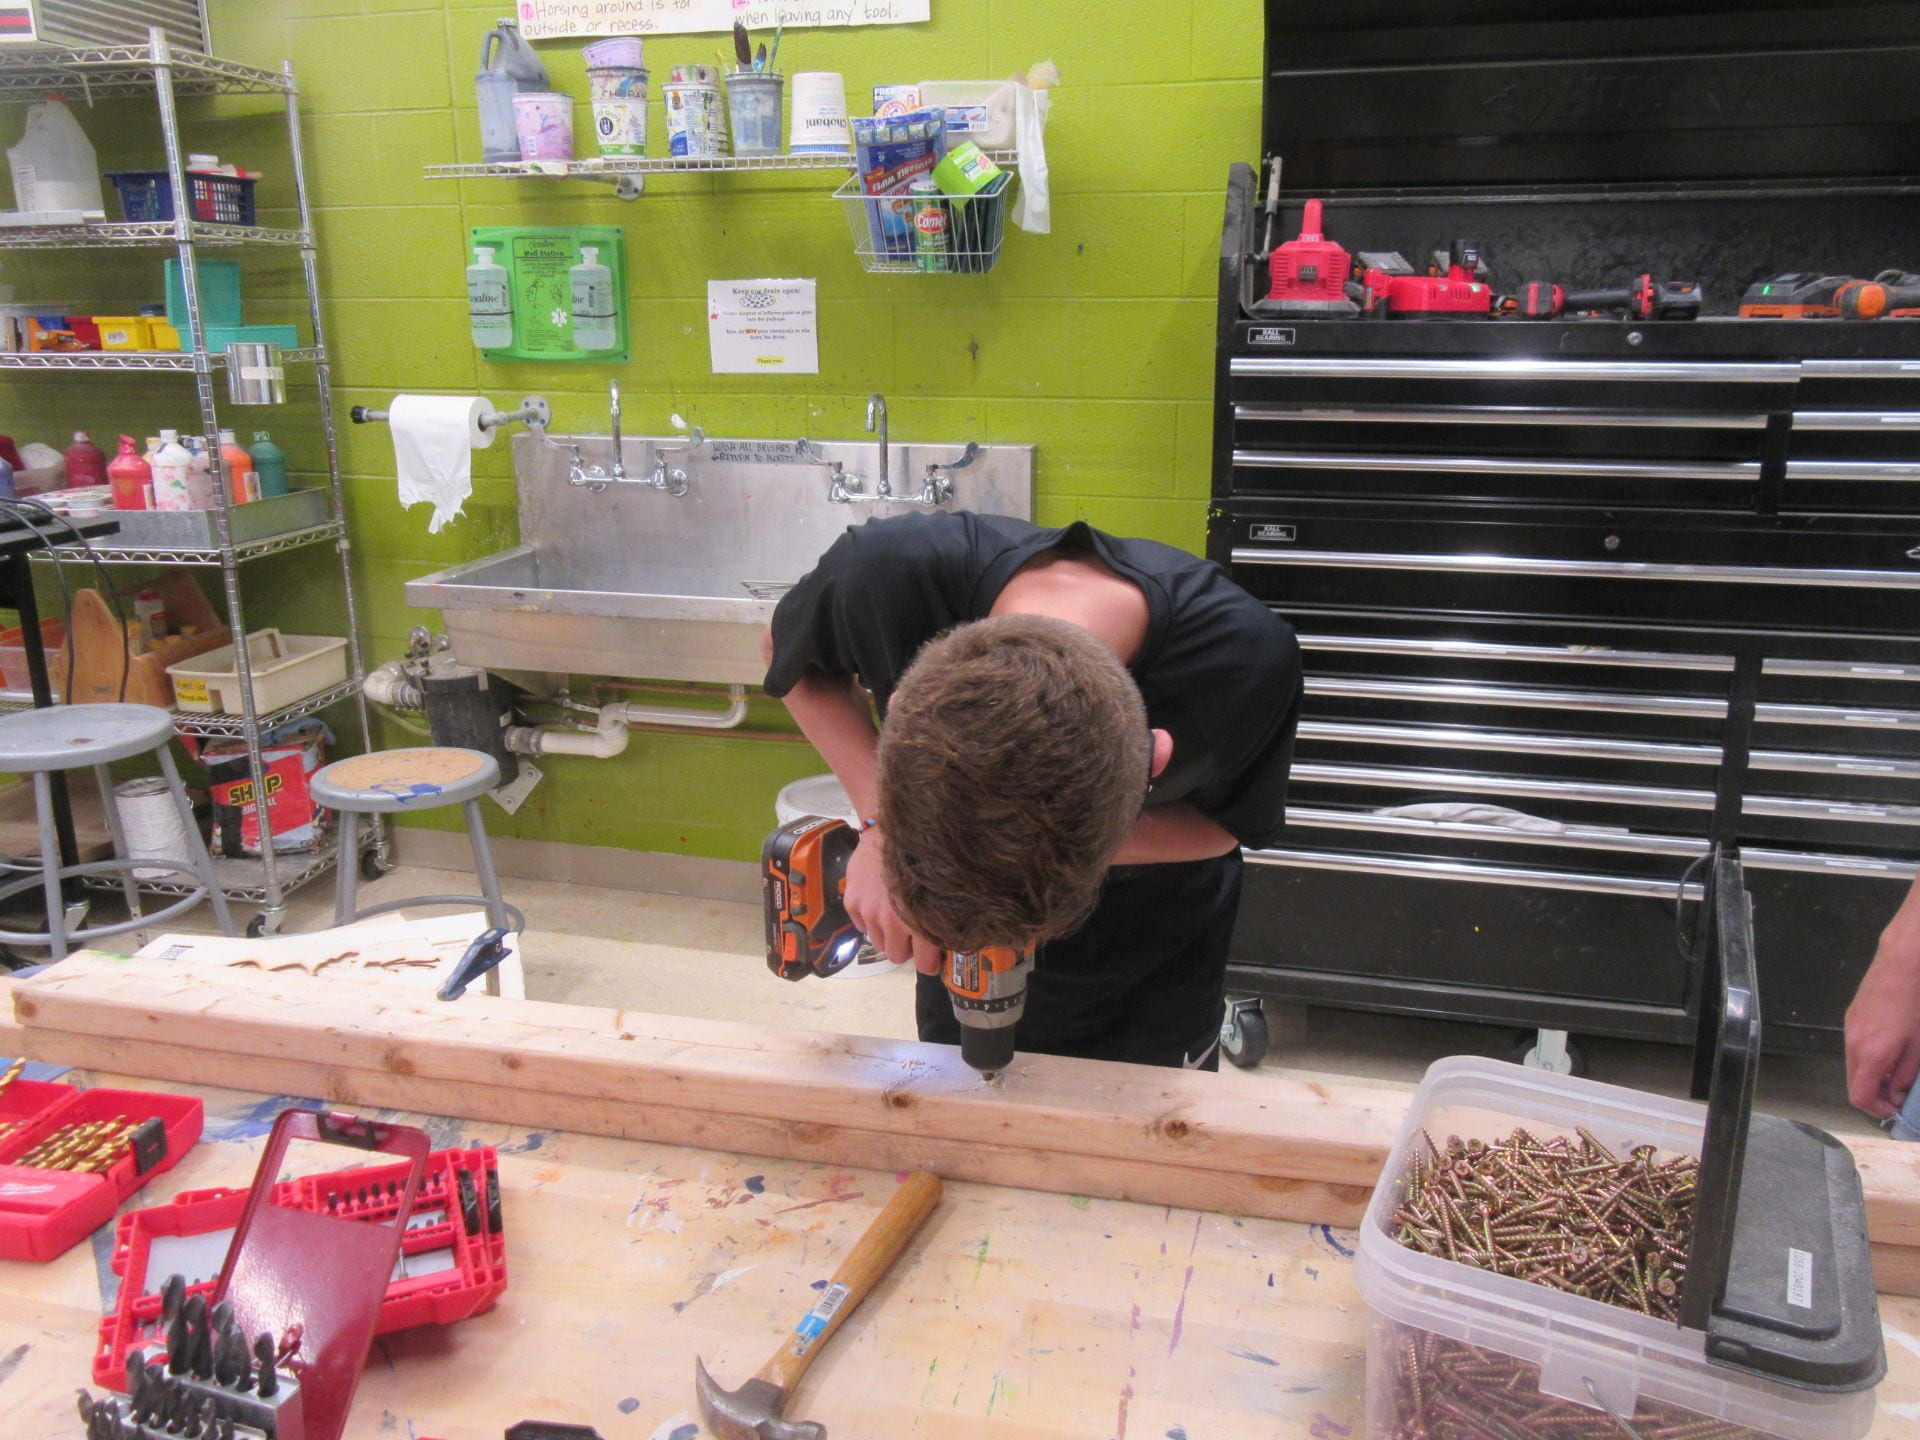
drilling in our 6 inch corner screws (using a speed square and teammate weight to ensure corner is 90 degrees)

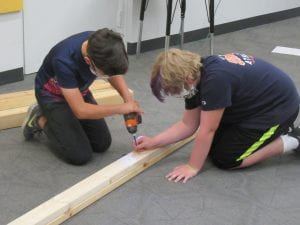
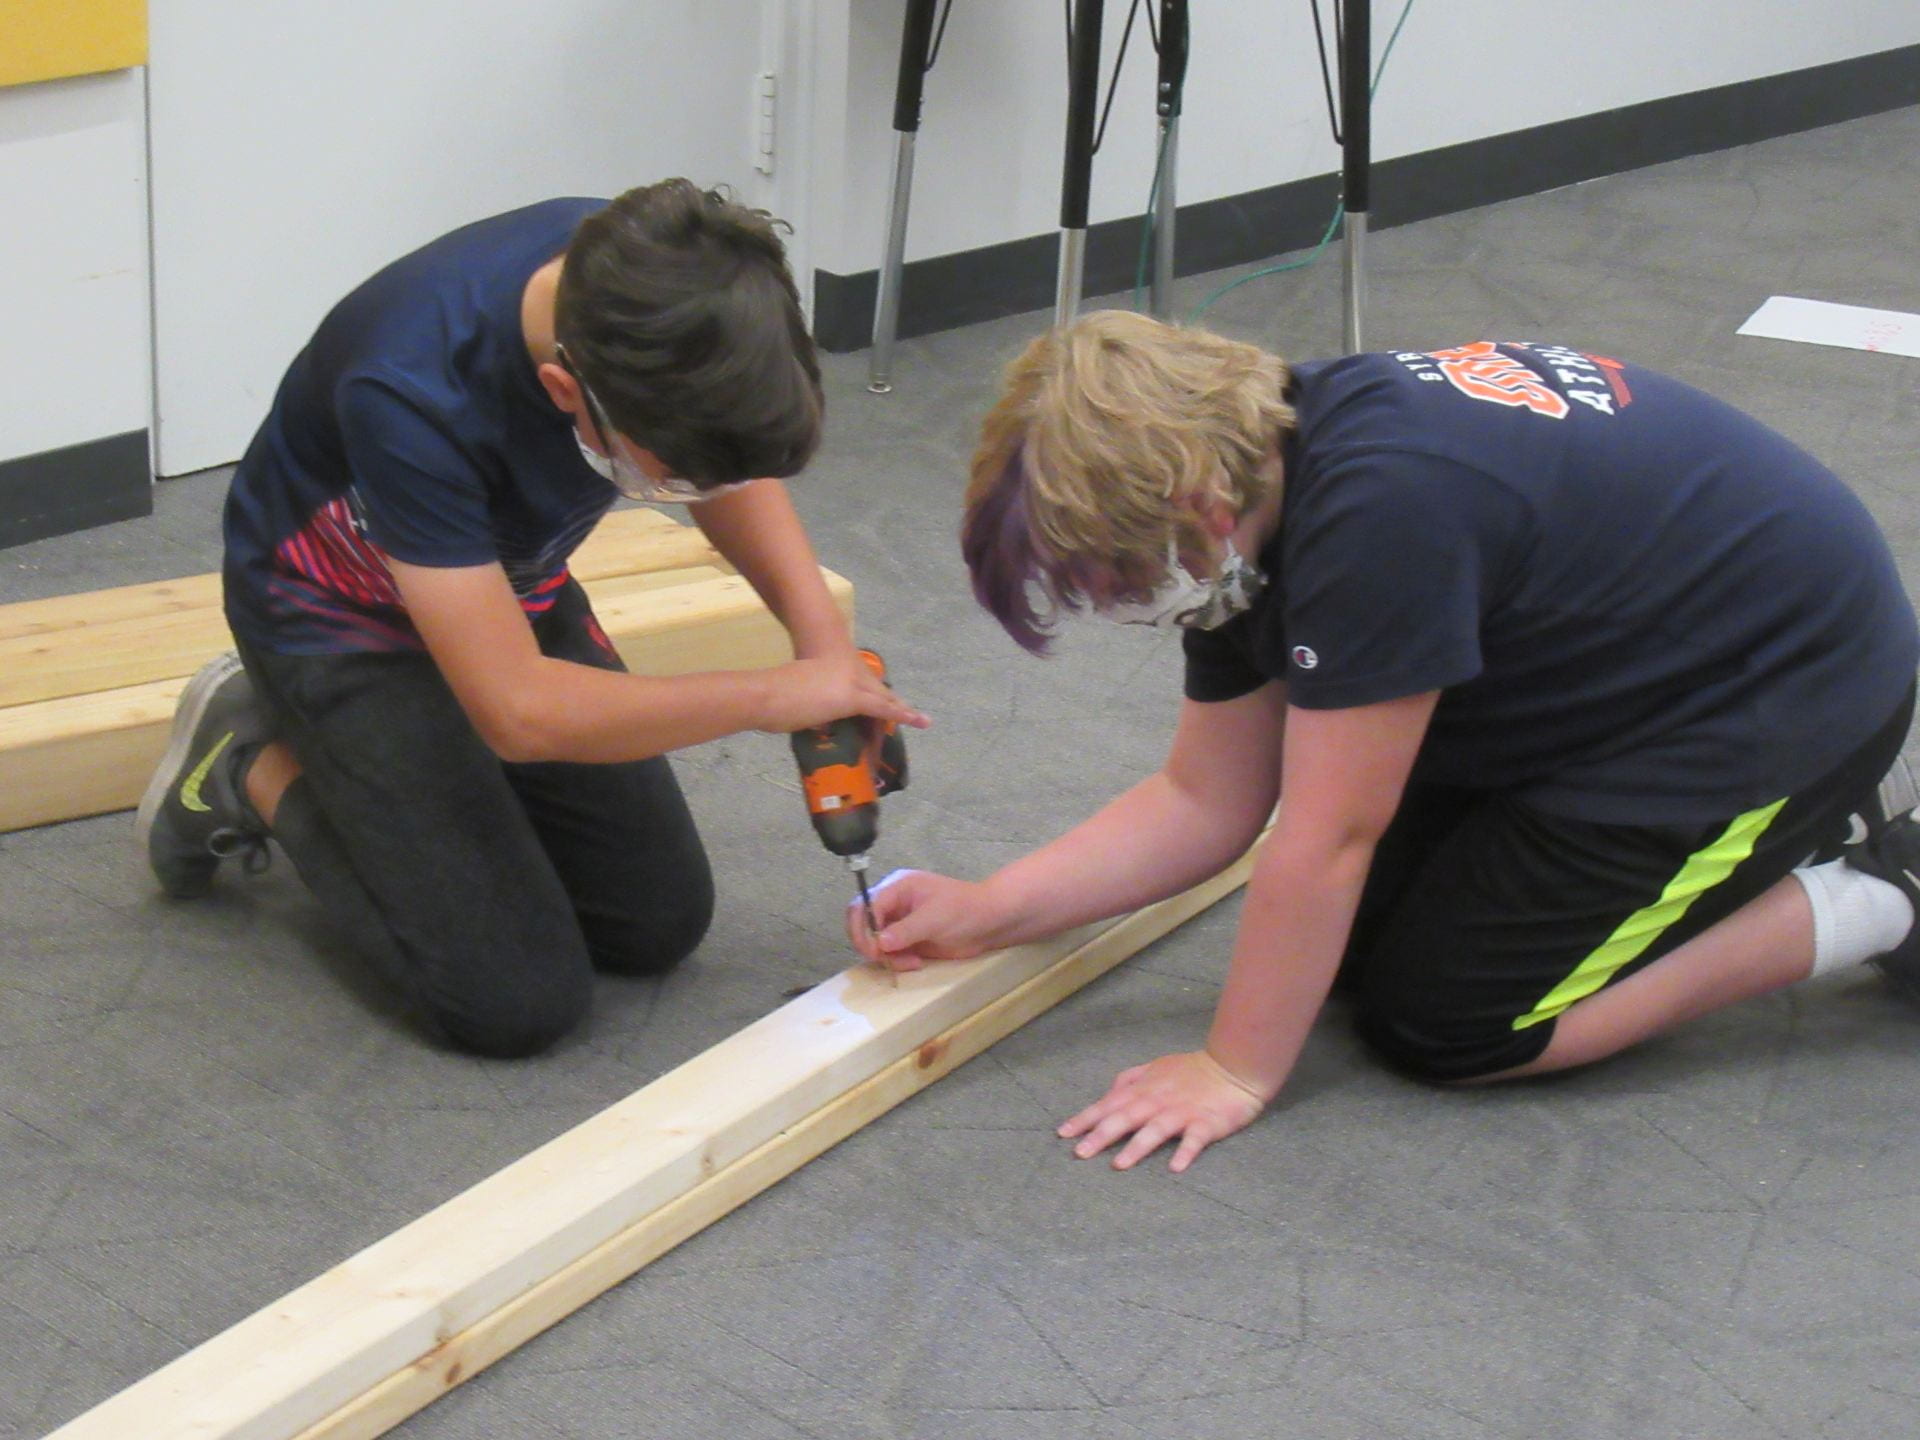
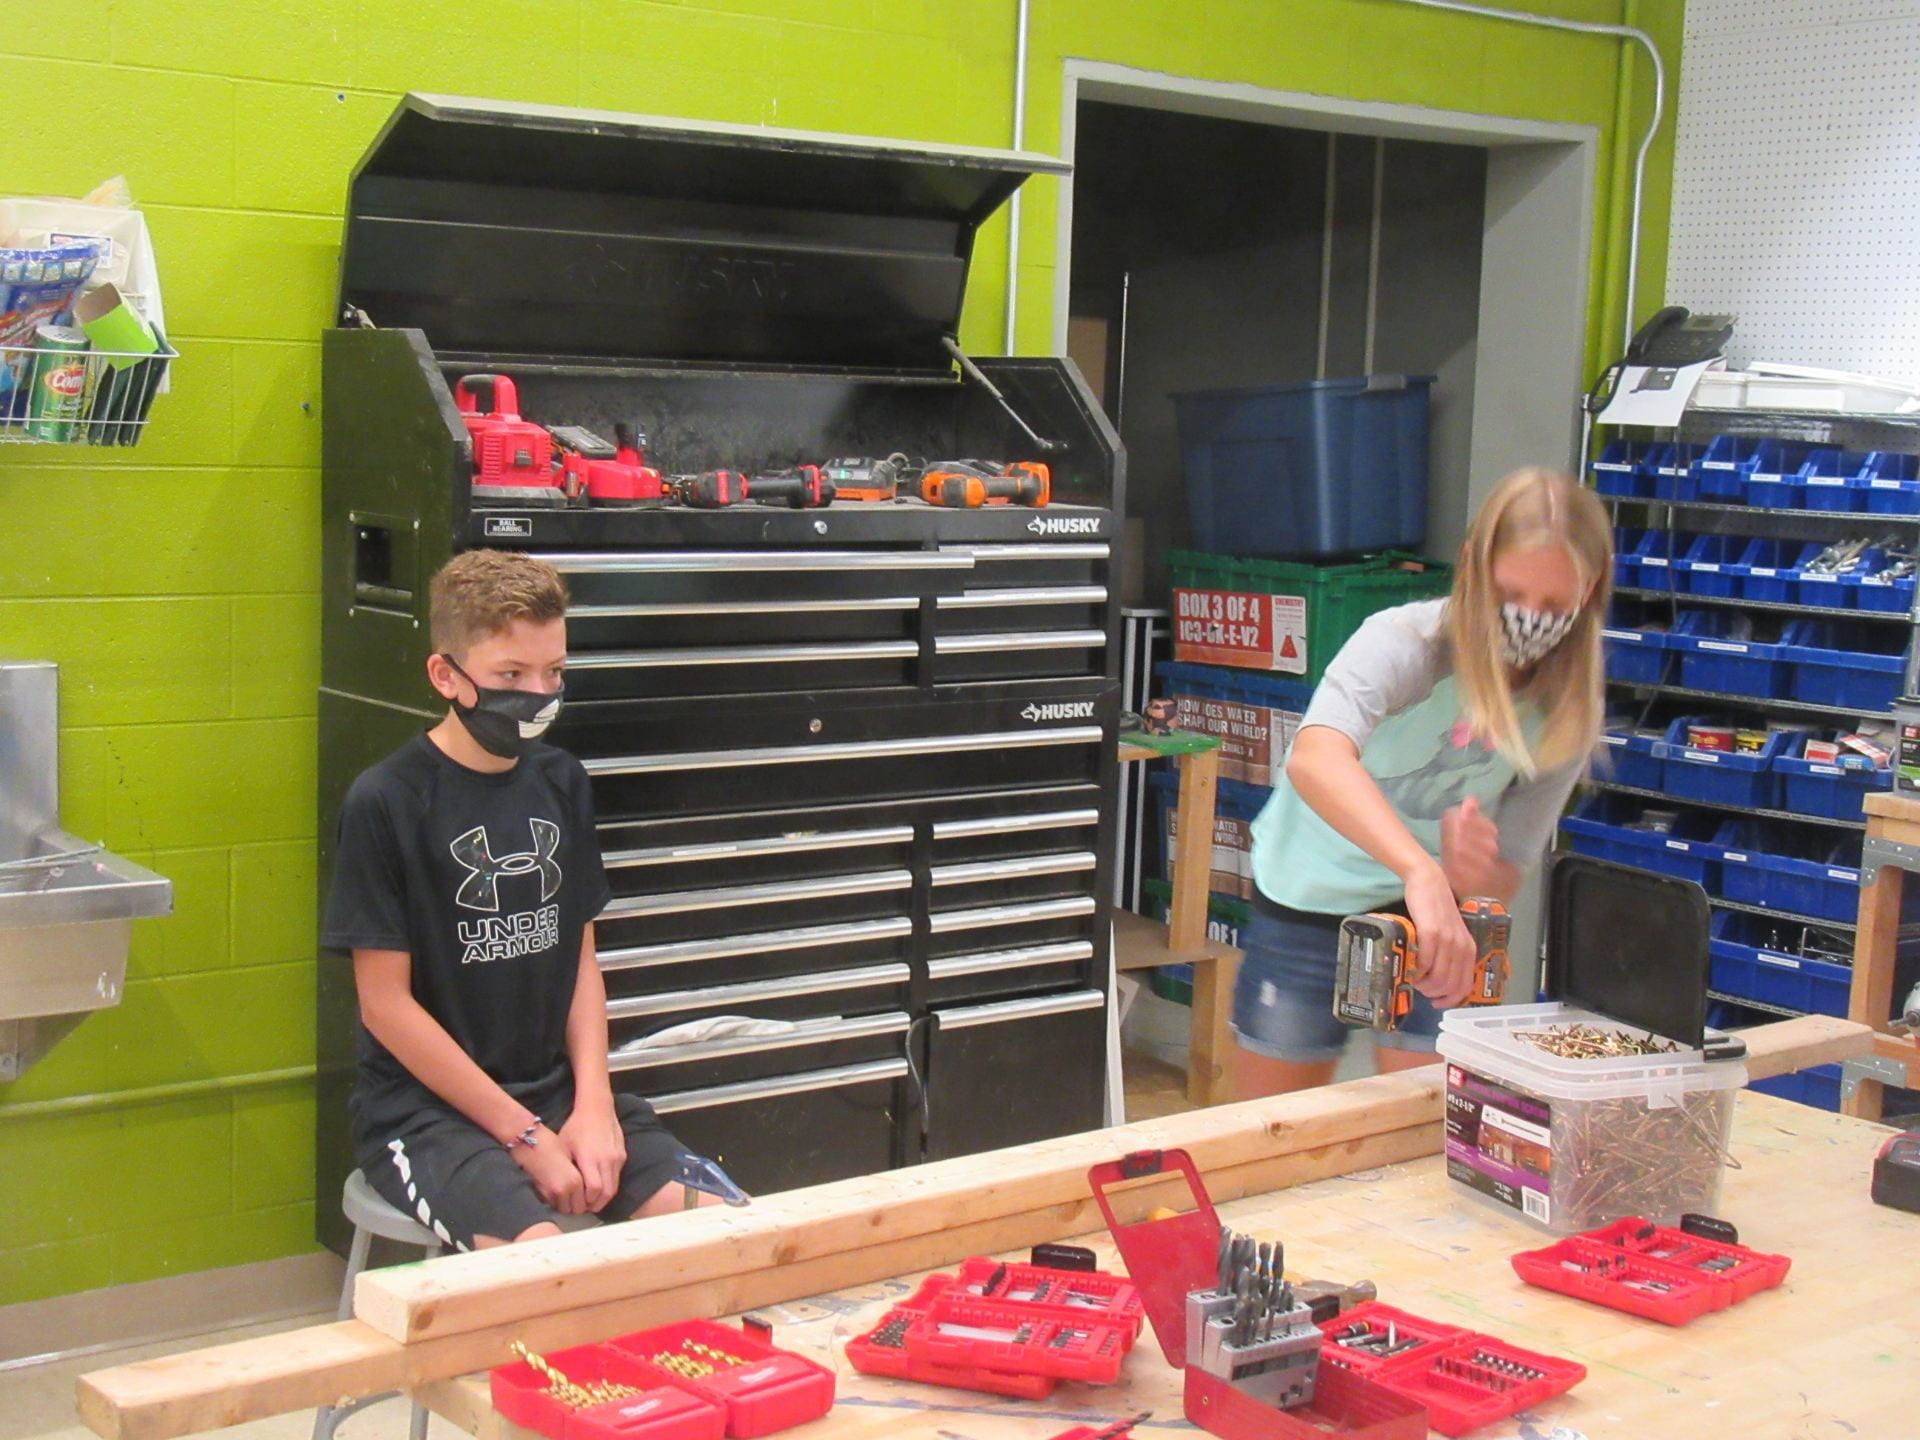
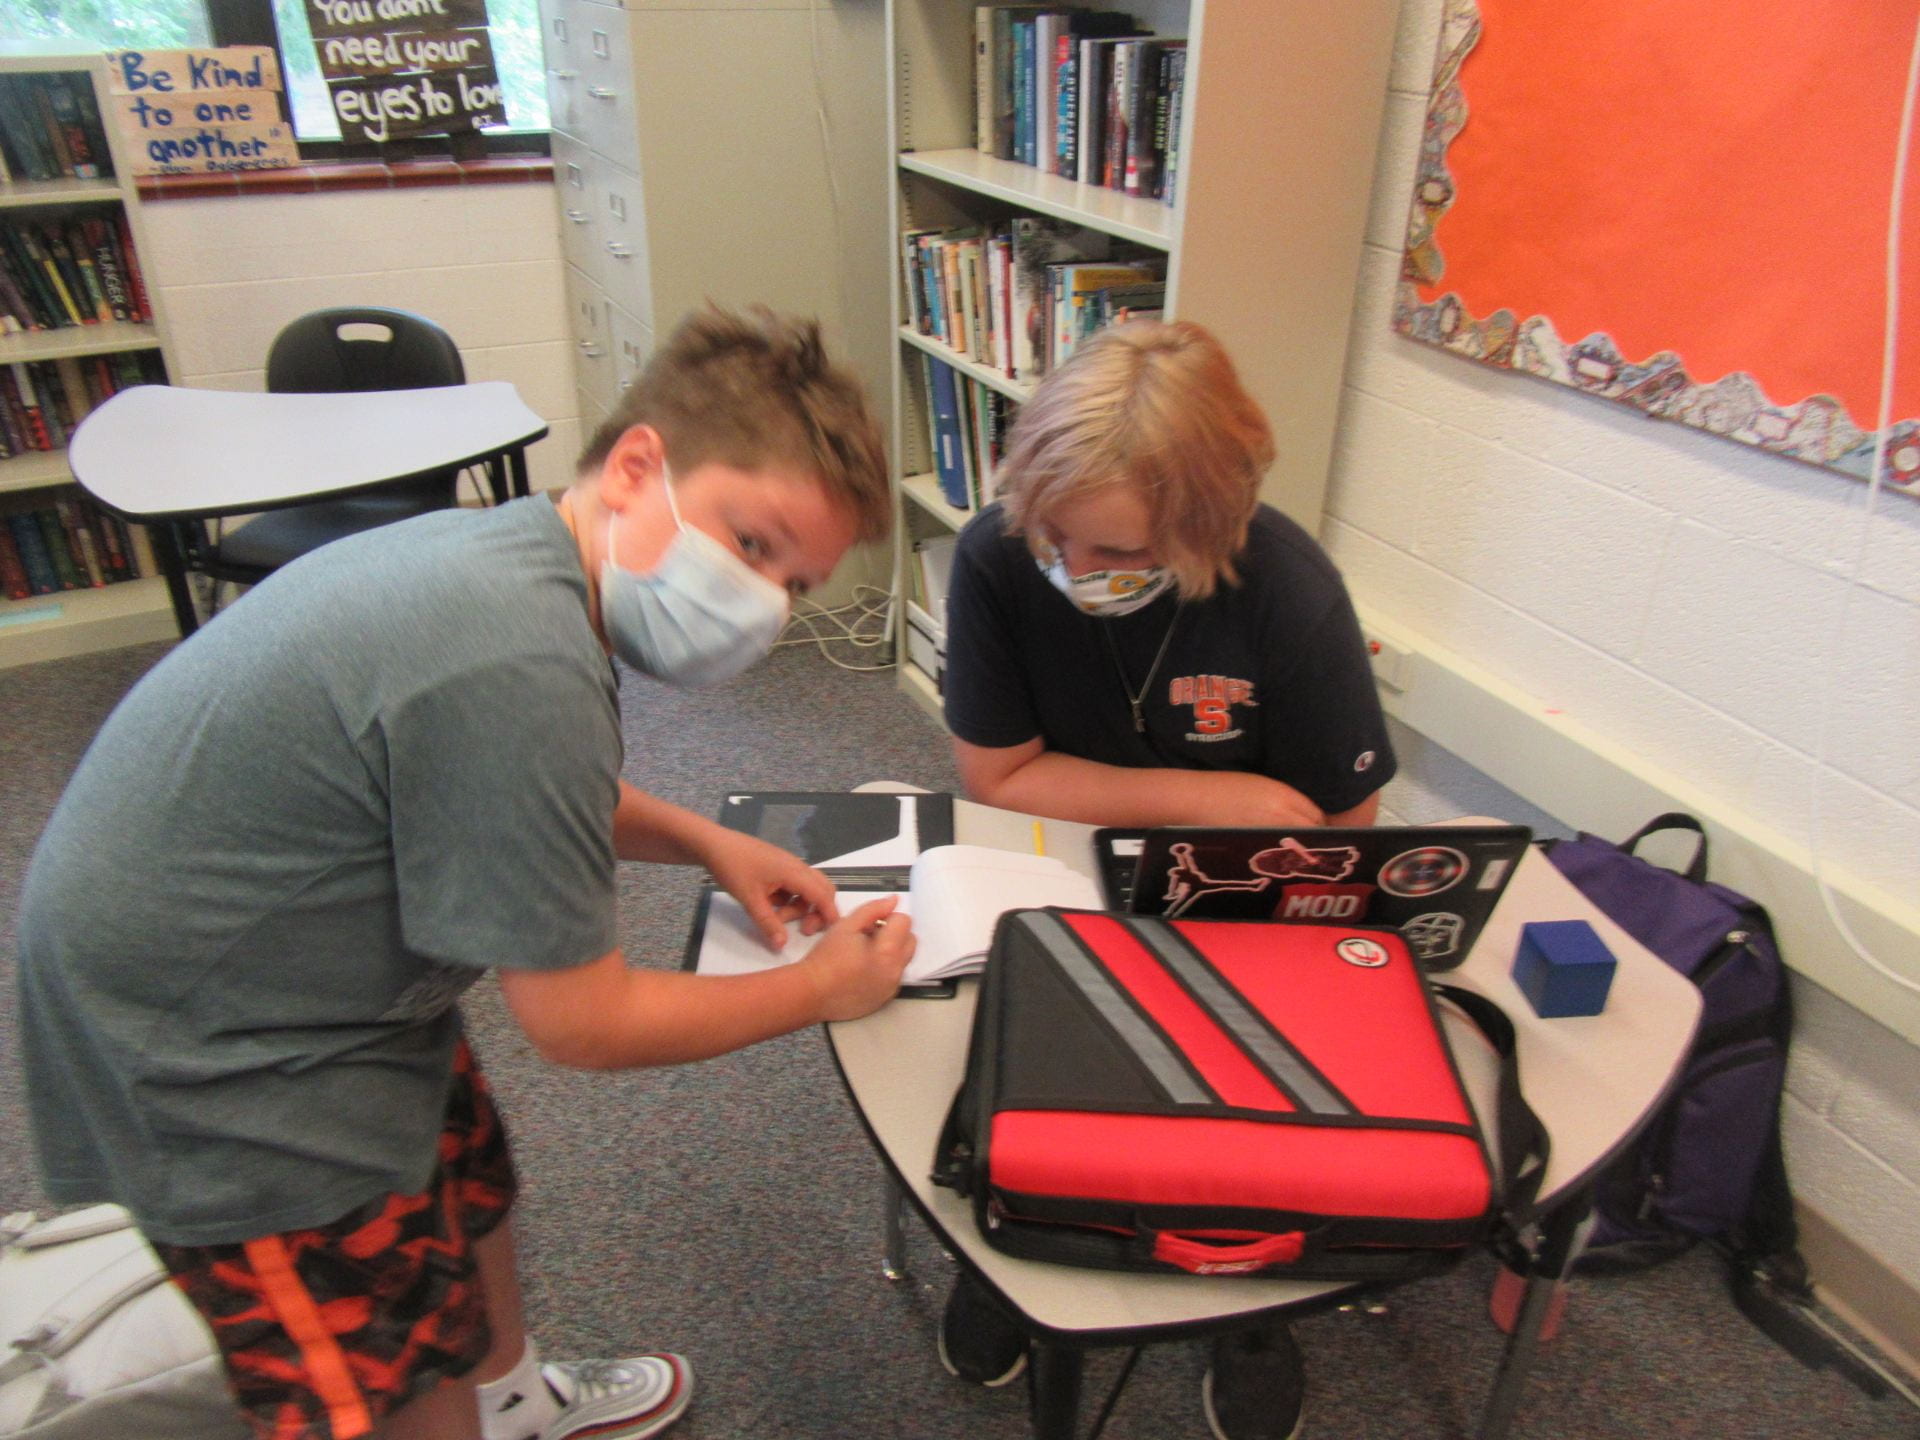
students helping students drill in their screw in order to prevent stripping

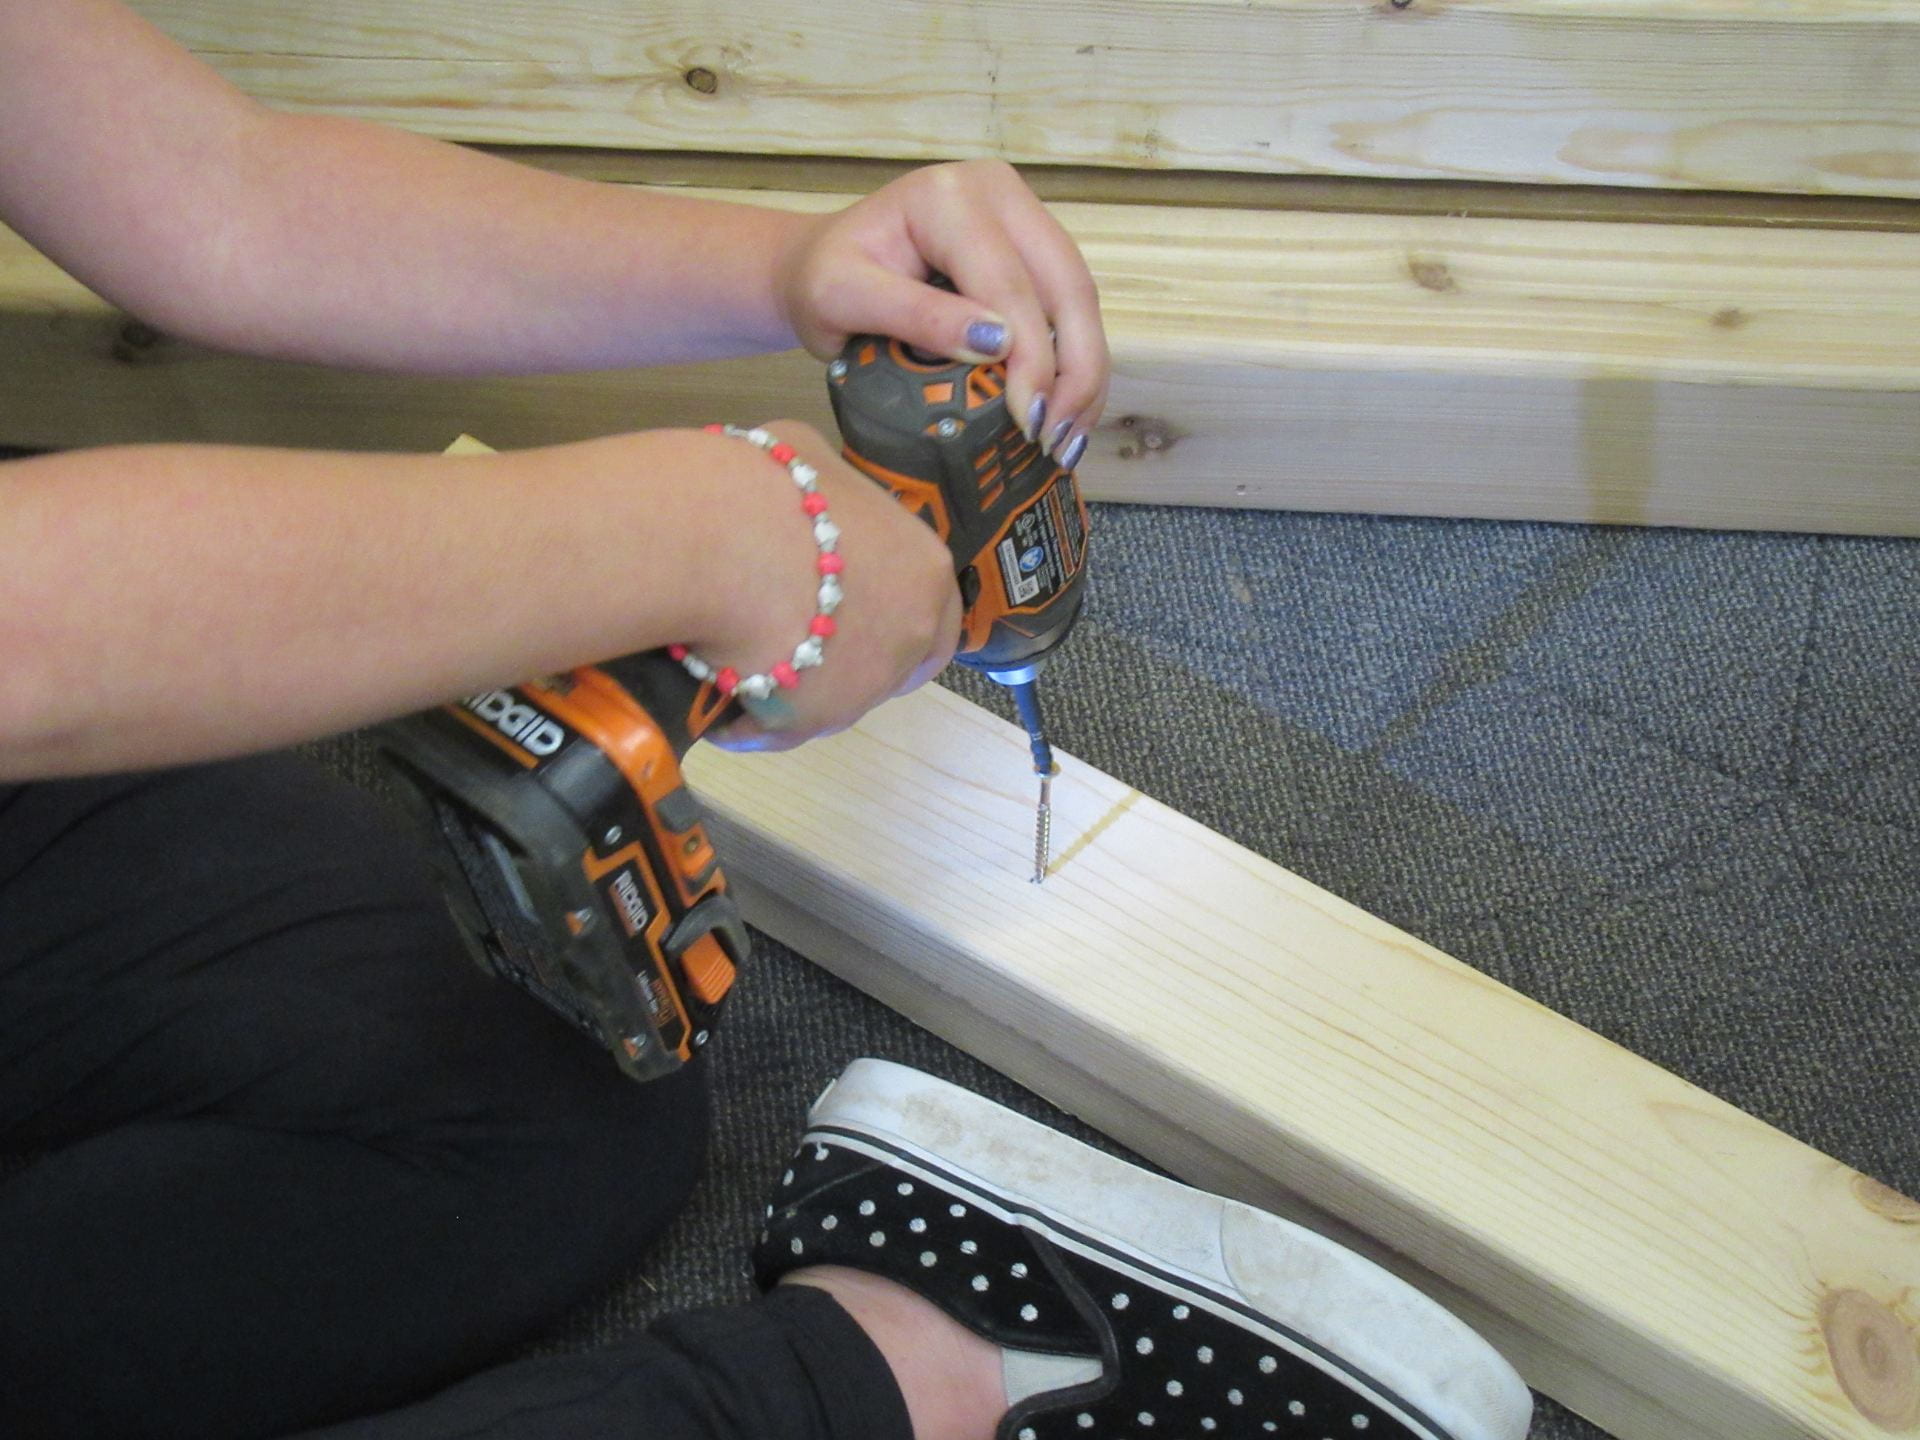
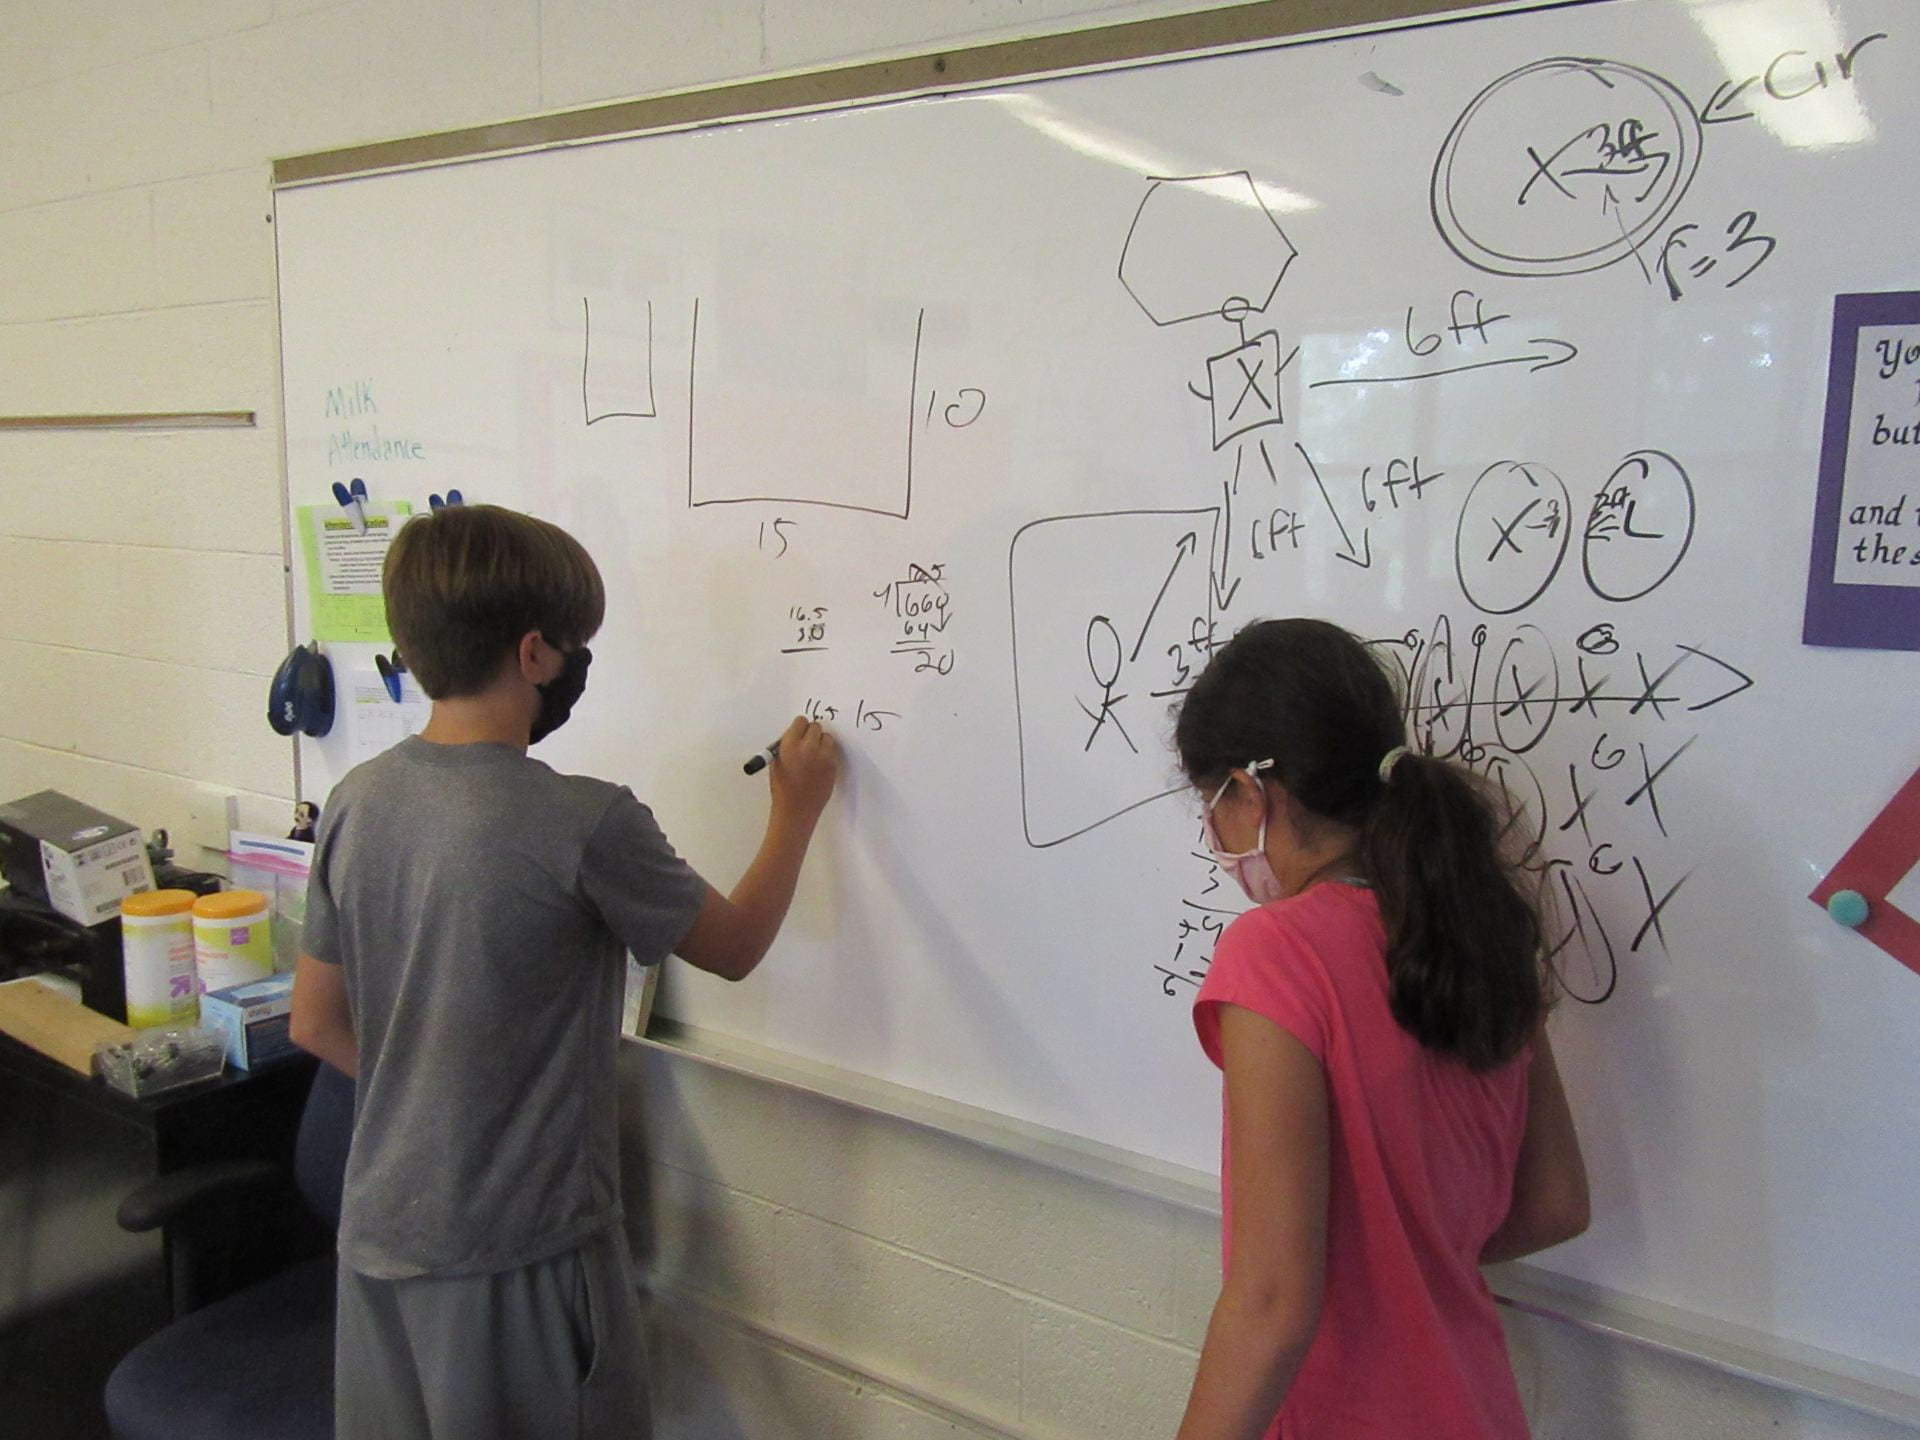
measuring where to put our screws to connect our boards together

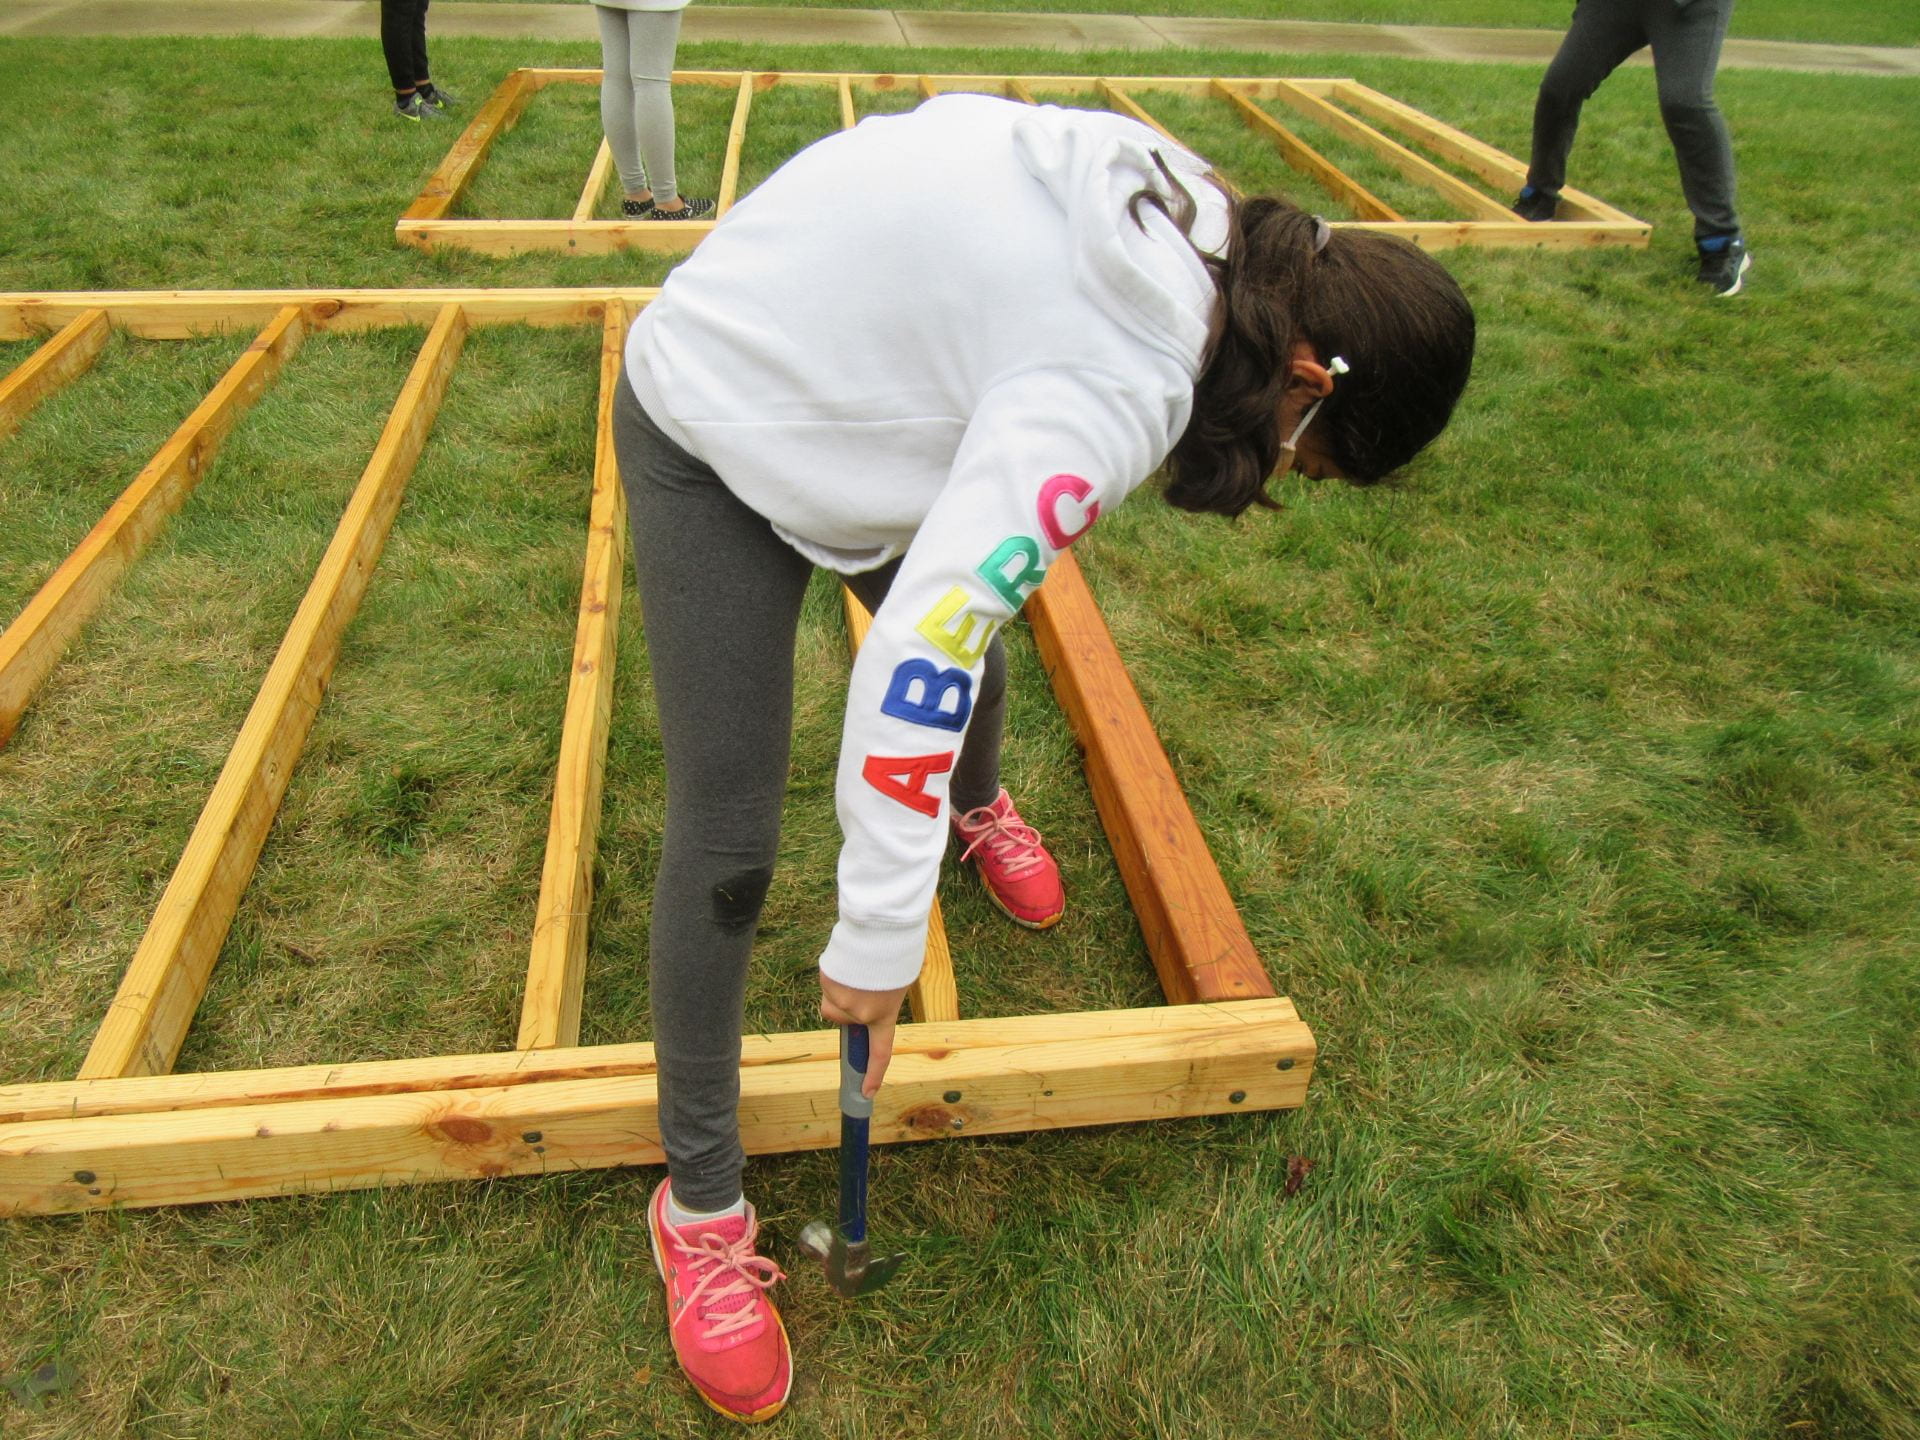
getting all screws down slowly, but without stripping


Day 4 – Wood collection and Saw Skills

What a fast week this has been.  We have been in school for 5 days and it already feels like 5 weeks.  We got a shipment of wood in this morning (thanks for Drexel building supplies for shipping quality wood a day after it was ordered).  We, as a team, had to take all our wood inside.  Next, we learned how to safely use the Miter Saw in order to cut our odd wood pieces down to 8 foot long studs.  It was a short, but productive day.


Next week starts the actual construction of our walls.  What a good way to start the Sukkah project.


Day 3 – Sukkah building skills

The Sukkah will not build itself so it is up to us to learn how to effectively use the tools at our disposal.  We practiced using drills and impact drivers today; learning how to safely connect two pieces of wood together.  This skill will be practiced over and over so that we can eventually put our pieces of wood together to form our Sukkah.

Day 2 – Sukkah organization

Today was a great day!  We did some basic mathematics to calculate how many studs we needed for our walls (wood, not people).  We also took a crash course on the different wood dimensions we are going to be using, ranging from 2x4x8 to 2x4x12 to 2x4x16 boards (if you have any; we will happily take any in the coming weeks).

Afterward, we started to take inventory of what we already have so we know what we need to purchase (no field trip to the store this year to get everything).  It really was a team effort to move something like 40 boards in 15 minutes (and aside from a few slivers; no injuries).


my view from above as I handed out boards to be measured, checked for warping, and put into our storage room.

putting all boards into our organizational pile so we can tackle it tomorrow morning.

Day 1 – Sukkah Redesign

The 2020-2021 school year is off to a great start.  Unfortunately, much of our planning as it relates to the Sukkah is no longer applicable.  Our proposed field trip to the store to purchase wood, screws, and bolts is out of the question.  Same applies to the dimensions of our Sukkah.  We cannot do as planned because we need to include social distancing guidelines and class maximums into our plan.  Throw in five new students compared to last year and we have to start fresh.

One of the most important parts of our process thus far has been the steps to figure out how much space we need to include in our Sukkah; which is step #1.  In pairs (which includes our virtual learners), students needed to calculate the required dimensions of our Sukkah using the following 4 guidelines (a real life problem solving situation):

  1. class sizes of 15 (14 and 1 teacher)
  2. every needs socially distanced 6 feet
  3. our structure needs to be rectangular
  4. everyone needs 2 feet of clearance from the walls

Attached are some photos of the students as they attempt to solve this problem together; having to think critically about the problem in order to come up with an answer.  Make sure to ask any of them how they came up with their answer and how big they believe our Sukkah needs to be.